Watercolour Basics: Everything You Need to Get Started
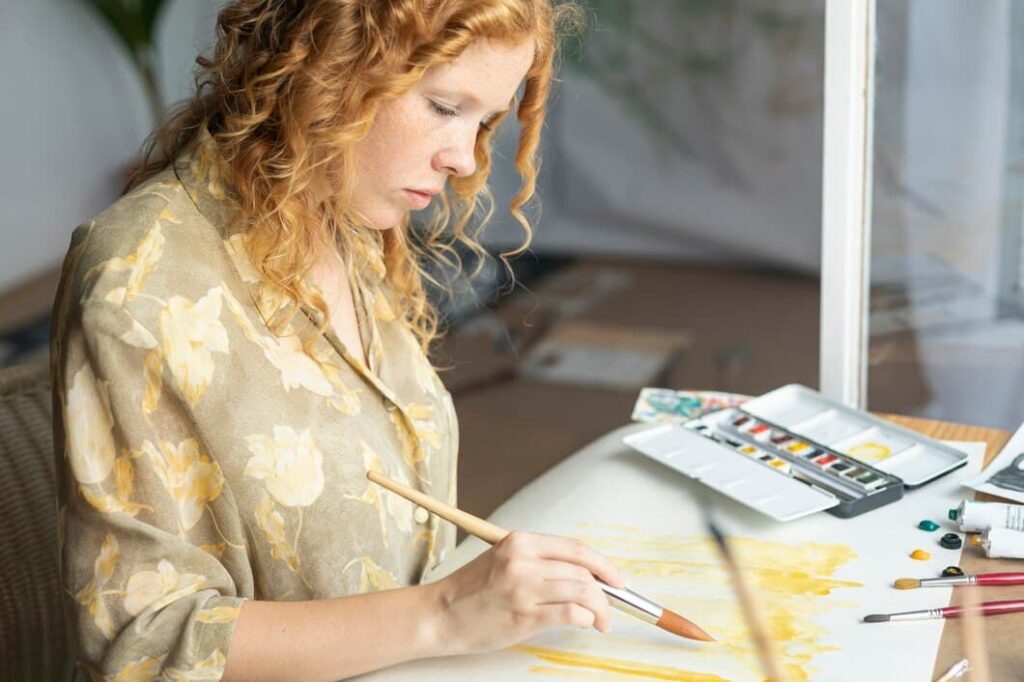
Watercolours have a charm of their own – soft, delicate, and utterly versatile. They are perfect for capturing landscapes, still life, and expressive art pieces with ease. If you’ve ever admired a dreamy watercolour painting and wondered, “Could I do that too?”, the answer is absolutely yes! This guide will equip you with the essential knowledge to kick-start your watercolour journey. From tools to techniques, we’ll explore everything you need to know to create your first masterpiece.
Essential Tools and Materials for Watercolour Painting
To dive into watercolour painting, you don’t need an overwhelming array of supplies. Quality over quantity is key here. Let’s start with the absolute essentials:
1. Watercolour Paints
Watercolour paints come in two main forms: pans and tubes.
- Pans are compact, solid cakes of paint that activate with water. They’re perfect for beginners and travel-friendly.
- Tubes contain soft, liquid-like paint, allowing for richer colour applications and better mixing.
Start with a basic palette featuring primary colours (red, blue, yellow) and a few secondary shades like green and brown. A good set of 12 colours is usually enough to begin.
2. Brushes
The right brushes can make all the difference. Opt for a small selection of synthetic or sable brushes, as they hold water well and provide smooth strokes. Start with these three types:
- Round Brush: A versatile tool for washes and details. Sizes 4, 6, or 8 are ideal.
- Flat Brush: Great for broader washes and straight edges.
- Detail Brush: Perfect for fine lines, small details, and intricate work.
3. Watercolour Paper
Standard printer paper won’t work here – watercolour requires specialised paper. Look for cold-pressed (textured) or hot-pressed (smooth) watercolour paper with at least 300gsm weight to prevent buckling when wet. Start with small A4 pads for practice.
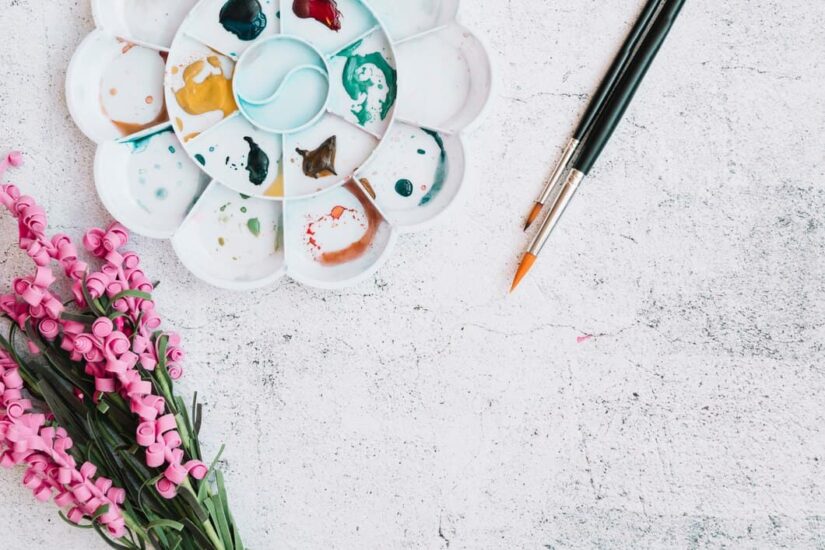
4. Palette and Water Jars
A mixing palette is essential for blending colours. Any plastic or ceramic palette with wells will do the trick. Also, have two water jars: one for rinsing brushes and the other for clean water to keep your colours bright.
5. Extras
- Pencils: Use an HB pencil for light sketching before painting.
- Eraser: A kneaded eraser works well to lighten marks.
- Tissues or Sponge: Helpful for blotting excess water or creating textures.
Fundamental Techniques Every Beginner Should Practise
Mastering watercolour painting requires understanding a few core techniques. Don’t worry – it’s all about practice and having fun with the process!

1. Wet-on-Wet Technique
The wet-on-wet method involves applying wet paint onto a wet surface, creating soft edges and blended effects.
- How to Try It: Lightly wet your paper with clean water. Then, drop in diluted paint and watch the colour bloom across the surface. This technique is perfect for dreamy skies or backgrounds.
2. Wet-on-Dry Technique
This technique gives you more control over the paint. Here, you apply wet paint directly onto dry paper.
- How to Try It: Dip your brush in watercolour paint and stroke it across dry paper. The edges will remain crisp, making this method ideal for defined shapes and details.
3. Lifting Colour
Accidentally added too much paint? Don’t worry – watercolours are forgiving! Lifting allows you to remove excess paint while the paper is still damp.
- How to Try It: Use a clean, damp brush or tissue to gently blot or lift away unwanted pigment. This is particularly useful for adding highlights.
4. Dry Brush Technique
For texture and details, the dry brush technique is your friend.
- How to Try It: Lightly dip a barely-wet brush into thick paint and drag it across dry paper. The result is a scratchy, textured look, ideal for grass, tree bark, or fur.
Tips to Get the Best Out of Your Watercolours
Watercolour painting is as much about the process as it is about the result. Keep these tips in mind to make your experience enjoyable:
- Start Light, Layer Later: Build up colours gradually. Begin with light washes and add darker tones layer by layer.
- Embrace Imperfection: Watercolours have a mind of their own! Let the paint flow and experiment with unexpected effects.
- Mix Colours Thoughtfully: Try mixing two or three colours to achieve beautiful, unique shades. Avoid over-mixing, as this can lead to muddy colours.
- Use Tape for Clean Edges: Masking tape helps create neat borders or protected areas when working on specific sections.
- Keep Practising: No masterpiece was made in a day. Start with small projects like flowers, abstract washes, or simple landscapes to gain confidence.
Final Thoughts: Enjoy the Journey
Watercolour painting is not just about technique; it’s about expression, patience, and experimentation. Whether you’re painting for relaxation, improving your skills, or simply enjoying the process, remember that every brushstroke brings you closer to mastering this beautiful art form.
Take your time, embrace happy accidents, and most importantly – have fun! You’ll be amazed at what you can create with just a brush, water, and a splash of colour.
